|
A description of the
first (koji)
stage is found
here
The second (moromi)
stage
Saline fermentation
I chose the brine method (there is also a relatively
dry salt method).
Method
Make up a brine
solution which is at least 15 but not more than 20% common table
salt (I used 18%) on a weight to volume basis. I made up my
brine in the following way to immerse the 1.5 kg (starting
weight) of koji (fermented soya beans + wheat berries)
which was prepared in the first stage:
-
1200 mL clean
fresh water
-
108 g Himalaya
Pink Rock Salt
-
108 g
Australian Sea Salt
You can use any
salt of your fancy (you might discern a subtle difference later,
or your choice may be the mark of your special brew).
Note: Salt is added in the moromi stage in order to favor
halophilic microorganisms which can thrive in the high osmolarity
of the saline condition created. Through the biochemical metabolism of these saline microorganisms, the fermentation
substrates in which were produced in the koji stage are converted to
the complex compounds typically found in soya sauce which
contribute to its flavor profile. Of these, glutamic acid should sound familiar because it is the very
acid which is used to make monosodium glutamate, commonly known as
"MSG". The latter occurs in soya sauce because of the
presence of both sodium ions (from the added salt) and glutamic acid (from the
microbial metabolism of breakdown products from soya and wheat
proteins). If the salt is in
insufficient concentration, undesirable (off-flavor and/or
possibly pathogenic varieties) microorganisms may predominate
instead of the moromi microorganisms. On the other hand,
if the salt concentration is too high, even growth of the
moromi microorganisms may be deterred or slowed down,
leading to very long brew times being required.
Brewing
-
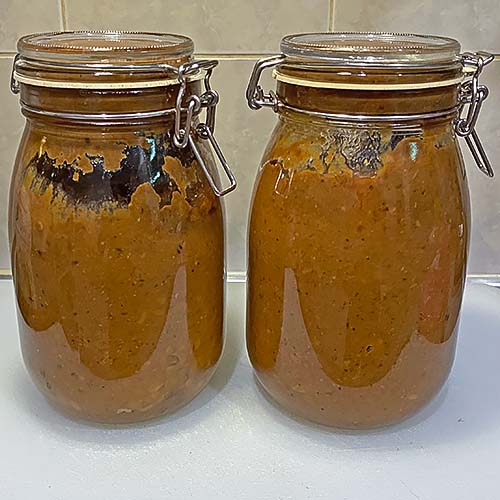
Place the
prepared koji into a suitable sized container. I
used two 1.8 L Mason jars.
-
Add sufficient
brine to mix and immerse the koji well.
-
Cover the jar
with a securable cloth top, or close down the lid if Mason
jars are used.
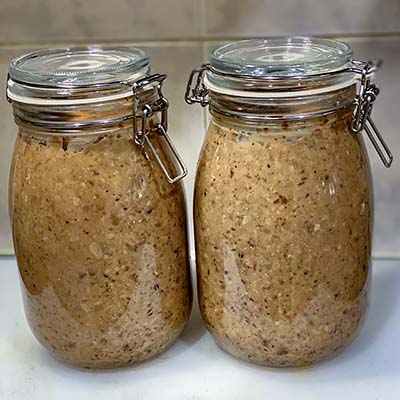
Day 0 of the moromi stage
-
Stash the
fermenting brew in a warm corner in your kitchen.
Warmth helps the fermentation to
proceed at a good pace.
-
Monitor the
brew daily initially.
Stir the contents to distribute the mix as required.
-
After some
weeks, it may only be necessary to mix the brew
hebdomadally.
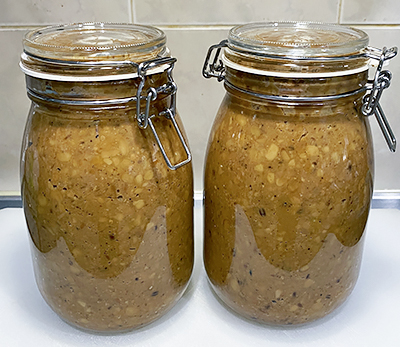
At Month 1 of the
moromi
stage
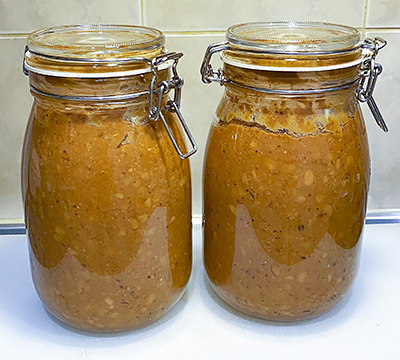
At Month 2 of the
moromi
stage
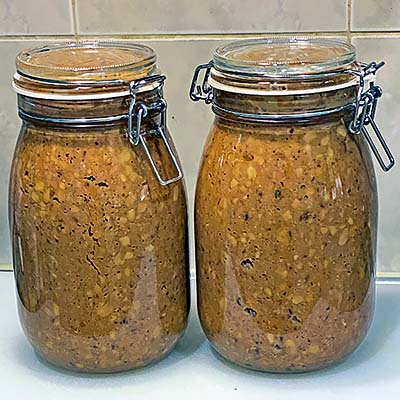
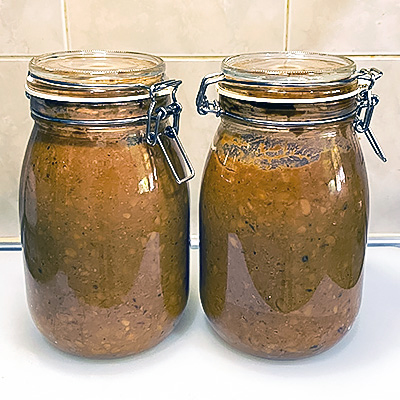
At Month 3 of the
moromi
stage
The koji brew is visibly more liquified now and has
settled down in volume
At Month 4 of the
moromi
stage
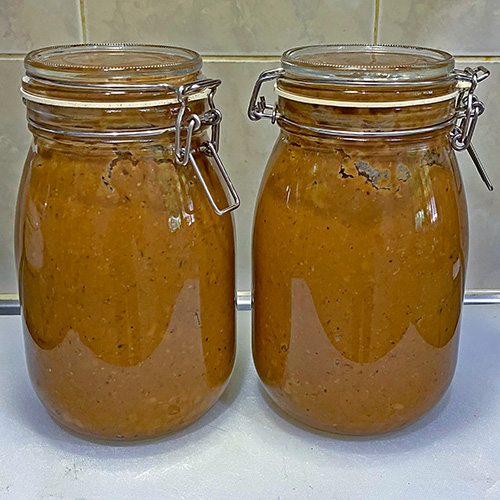
At Month 5 of the
moromi
stage
Liquidization is apparent now and dark brown
free liquid (soya sauce) can be seen.
At Month 6 of the
moromi stage
Liquidization is
not only apparent but can be "heard" when
the bottles are
shaken. The volume of the brew is a lot
less than at the beginning.
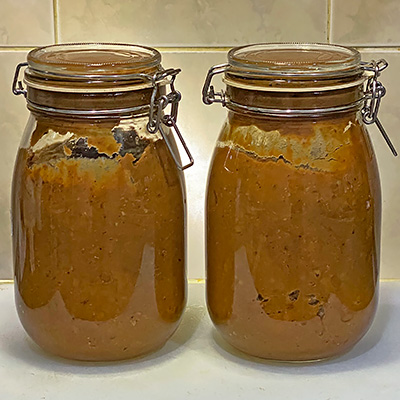
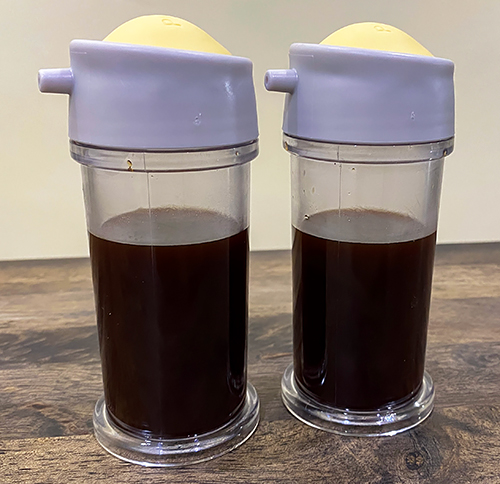
At Month 7 of the
moromi stage
The brew can be
easily moved inside the bottles now
and brown fluid (the sauce) is visible. Volume of the
brew has shrunk significantly.
-
Allow the brew
to ferment for around 6 months to a year.
In my case, I intend to let the brew go for 12 months.
-
You can
perform a taste test after 3 months and track how the brew
is proceeding by both taste and look.
The brew should turn darker with time and the beans/meal
should slowly disintegrate.
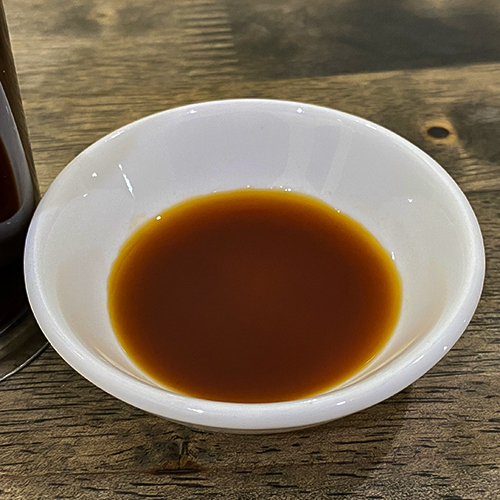
12 months later
(Nov 2022) . . . .
Filtration
-
When you are
satisfied with the brew in terms of taste and color, you can
stop the brew and filter.
-
For
filtration, use cotton gauze or something similarly
appropriate (fine sieve perhaps), to strain the brew to
remove particulates and harvest clear, dark soya sauce. You
will need to squeeze the gauze at the end of the process to
extract the residual entrained liquid.
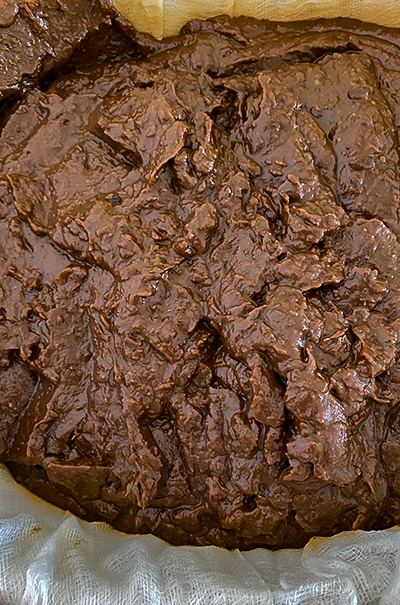
The 12-month fermented moromi after extraction from the
the brew vessels and placed on cotton gauze ready for
filtration.
-
Filtration
proved to be a lot more difficult than anticipated as it
should be obvious (not to me initially) that to extract
liquid from a paste will always be difficult. Due to a lack
of a press (which is used in soy sauce making), I only
managed to filter/squeeze out a minimal amount of soy sauce.
Filtration was not to a high degree and so the sauce
remained cloudy with particulates.
Pasteurization
-
When you have
finished harvesting all the liquid that you can extract,
place it in a sauce pan, heat it to at least 80
degrees centigrade and hold this temperature for at least 30
minutes.
This pasteurization serves to stabilize the sauce
against further microbial growth/action to benefit longer
shelf-life, and add a measure of food safety (common
pathogenic microorganisms are destroyed). Heat treatment also develops the flavor profile of the
sauce.
Note: At this stage you may wish to make blended soya sauce
by making flavor additions e.g. you could add cleaned dried mushrooms to the
sauce during pasteurization. This will result in mushroom soya sauce.
Those who
believe in monosodium glutamate as a flavor enhancer can
fortify the umami quality of your sauce by
adding monosodium glutamate (MSG). Sugar can also be added
to make a sweet version of the sauce (although depending on
concentration, this may shorten shelf-life).
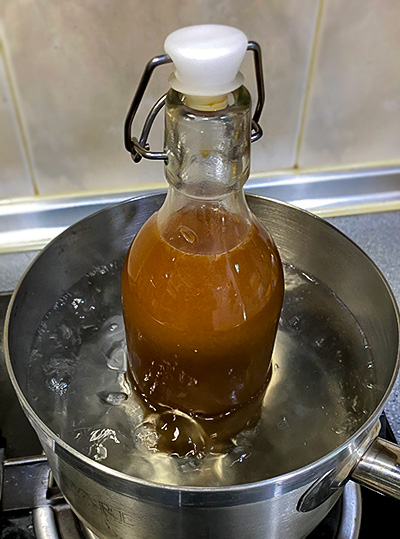
Crude-filtered freshly brewed soy sauce being pasteurized for at
least 30 minutes in boiling water
-
Decant the
sauce into clean containers.
-
For longer
term storage, keep the sauce in a refrigerator until it is
to be used.
-
I left the
saltiness of the sauce as brewed in order that the salinity
will preserve it better. The sauce can be adjusted for
saltiness just before use by addition of water.
|