|
First (Koji) Stage
Solid Substrate fermentation
"Solid" refers to the fact that the substrate is relatively dry.
The substrate is exclusively soya beans if the traditional
Korean method is followed, but plus roasted wheat berries if the
Chinese or Japanese method is followed. I followed the
Chinese/Japanese method.
Method
-
Note: The usual proportion of soya beans to wheat berries is
1:1.
However, I used 2 parts of soya beans to one part wheat
berries for this brew.
-
Soak about 1
kg of soya beans overnight in clean fresh water.
Change the water as necessary through the hours. The beans
imbibe water during the soaking and become easier to cook.
-
Drain the beans and place in a pot with sufficient water to
cover them. Boil until they are soft (will squash when
pressed).
This can take several hours.
Alternatively, you may wish for a speedier cook via a
pressure cooker.
At a setting of 15 pounds per square inch (121 degrees
centigrade), the beans are soft after 10 minutes.
Do not over cook until the beans turn mushy.
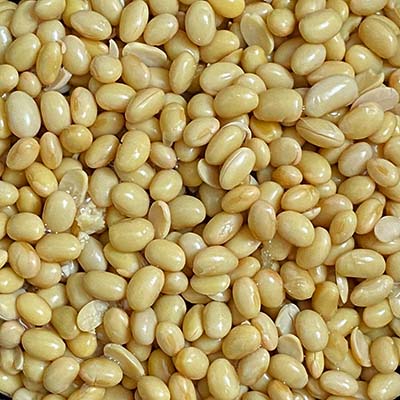
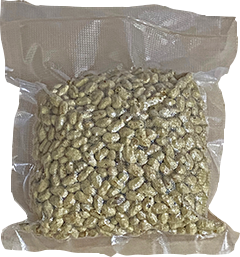
Pressure cooked soya beans
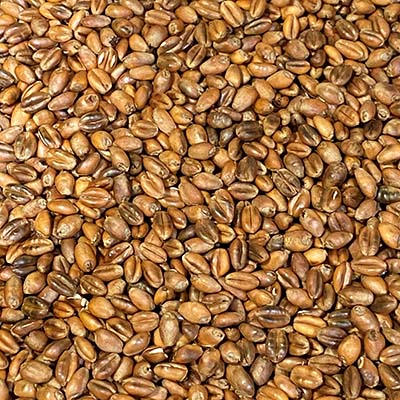
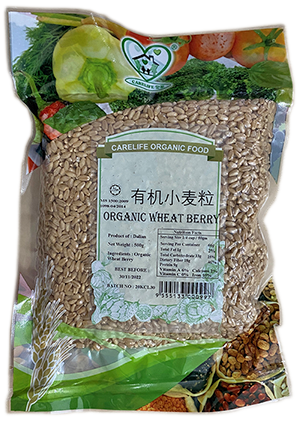
Roasted/toasted wheat berries prior to grinding
The roasting
imparts a darker color to the resultant sauce and a different
flavor profile to soya sauce which is made from only beans.
Indeed, after toasting, the berries give off a nice aroma.
Grind the berries into a rough meal.
-
Mix the cooked beans and roasted wheat meal together.
The ideal preparation is moist without free water evident.
Moisture is required for the fermentation process but too
much water will create anaerobic conditions which is not
desirable in this stage.
-
Add 200 g of koji starter inoculum to the bean/meal
mix and incorporate well.
Koji starter comprises cooked soya beans upon which
the fungus Aspergillus oryzae or Aspergillus sojae is
allowed to grow.
It serves as inoculum to get your freshly prepared substrate
populated with the desired fungus.
I ground the koji starter prior to adding. This
allows for better distribution of the fungal inoculum.
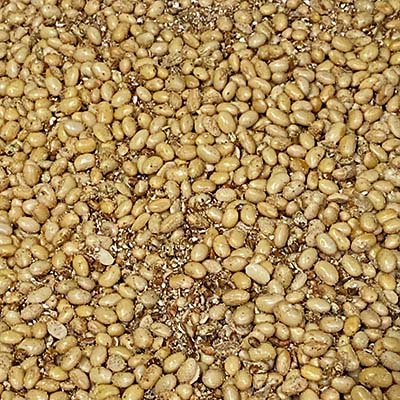
Beans, ground wheat and
koji starter on Day 0
The koji at
Day 3
-
During
koji fermentation, the fungus breaks down bean and berry
carbohydrates and proteins into complex smaller molecules
(short chain saccharides, sugars and amino acids).
This fungal colonization and breakdown of the beans and
wheat substrate is accompanied by the evolution of heat from
metabolism (known as "heat of fermentation"). During the
first day of my koji
preparation, I measured a temperature of 45 degrees
centigrade in my fermenting bean/wheat. I used a fan to
circulate air to dissipate heat from the tray. Overheating
the koji may cause the fermentation to cease (the
microbes die).
A good koji fermentation is when the fungus converts
as much of the initial substrate as possible to the desired
end-products.
-
The
koji stage is complete when the substrate has a good
coating of light colored fungus. This may be accompanied by
the observation that the koji no longer heats up.
The completion of this stage can take up to seven days.
In my case, by the end of Day 5, the koji remained at
room temperature.
Note:
-
You should
stop the koji stage before the batch begins to color
in a major way. Fungal mycelium is usually white but as the
fungus sporulates, it takes on the color of the spores of
the fungus (yellow; light green).
-
You should
retain some of this
koji for use as inoculum in further production
batches.
The portions kept for use as inoculum can be allowed to
sporulate as spores are good propagules and will remain
viable for longer than vegetative mycelium.
The koji
can be tightly sealed in a
Ziplock
bag and stored kept in the refrigerator.
Under the right
conditions (dry and cold), the fungal mycelium/spores in the
koji will keep indefinitely.
-
I added an
extra step of mashing the koji (quite soft in my
case) to create a semi-paste with the rationale that mashed
rather than whole beans or large chunks would be more
amenable to degradation by the enzymes produced by the
koji
microorganisms. Mashing the koji will also make the
substrate easier to be fermented by microorganisms in the
moromi stage. The mashed up koji was left for
several hours to hydrolyse before moving it on to the
moromi stage.

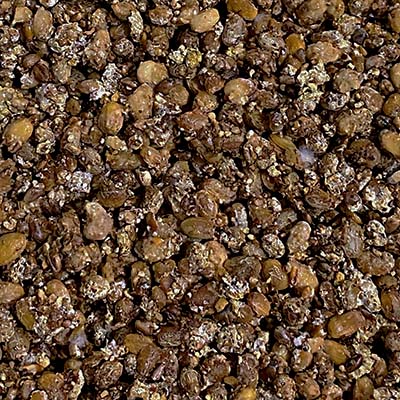
Mashed up koji at the end of Day 5
The
second (moromi)
stage
|