General precautions
-
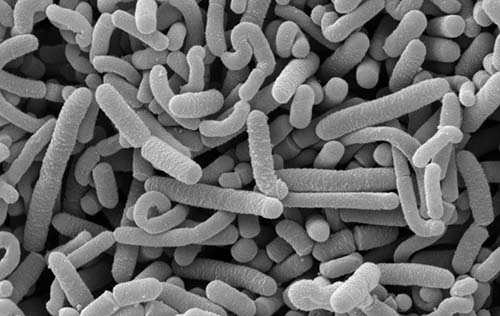
The hot
compound in chillis is capsaisin.
Avoid contact with mucous membranes (e.g. eyes and nose);
Wear gloves when needing to be in skin contact.
-
Sliced or
blended chillis will release irritating fumes/aerosols.
Take precautions not to inhale these fumes or risk eye, nose
and lung irritation (coughing is the usual response).
-
You are making
a food product.
Exercise maximum hygiene/sanitation in all your procedures.
Lacto-fermentation
-
Make a brine solution which is 6% (w/v) in strength.
Note: The salt concentration chosen is critical because if
the salinity is not high enough, pathogenic or food-fouling
microorganims may flourish and make the brew dangerous to
consume.
6% is higher than what is usually used by others but I chose
to err on the side of safety. The disadvantage of too high a
salinity is that the fermentation may proceed very slowly.
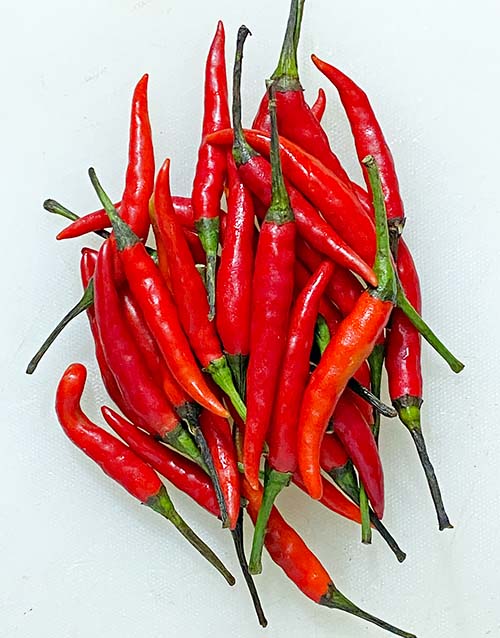
Bird's eye chillis
The choice of chilli to ferment is up to you and
where you wish to be on the Scoville Heat Unit scale
-
Slice bird's
eye chillis (I used 250 g) into into halves to expose the
ribs and seeds. Then further chop up the batch into smaller
pieces.
Some folk mash/grind up the chillis at this stage but my
take on this is that if the chillis are broken up too
finely, the juices within (containing the desired capsaicin)
will be contained in the saline. Not all this saline will
end up in the hot sauce later. It is better to mash up the
chillis after fermentation in order to conserve the hot
compounds within.
-
Smash and
slice 6 cloves of fresh garlic.
-
Place both the
chillis and garlic into a suitable container which can be
sealed tightly to keep out air. I used a small Mason
jar.
-
Now add
sufficient of your prepared brine to cover the chillis and
garlic. It is not necessary to weigh the chillis/garlic down
into the brine if you shake the ferment daily until the
produce no longer tends to float.
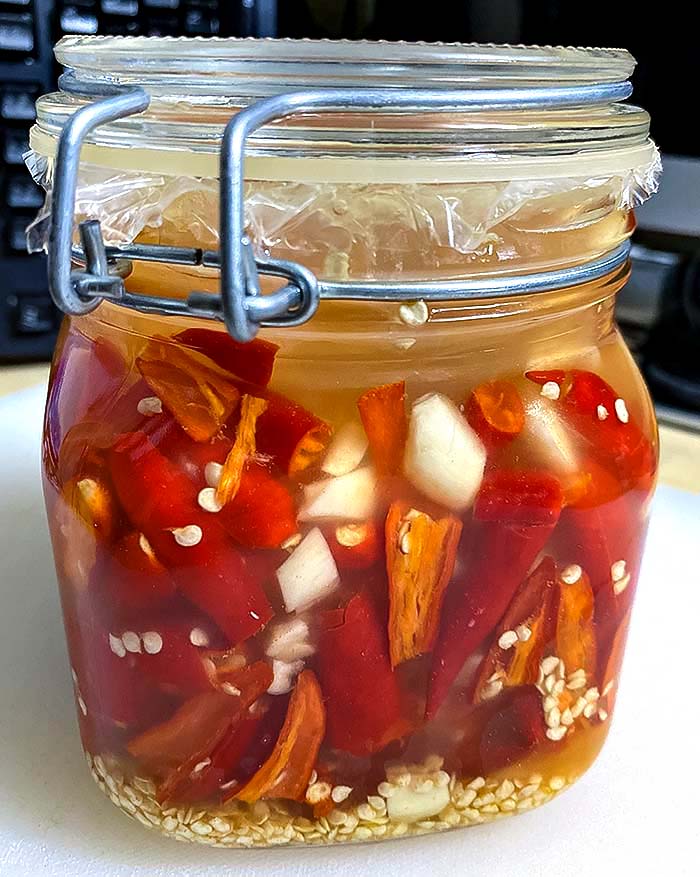
Sliced bird's eye chillis and garlic in brine at Day 0
-
Allow the
ferment to brew for at least 14 days.
Shake the contents daily to dislodge entrapped gas, and
"burp" the container to release the ferment gas to atmosphere.
-
You may wish
to ferment for longer than 14 days to obtain more flavour.
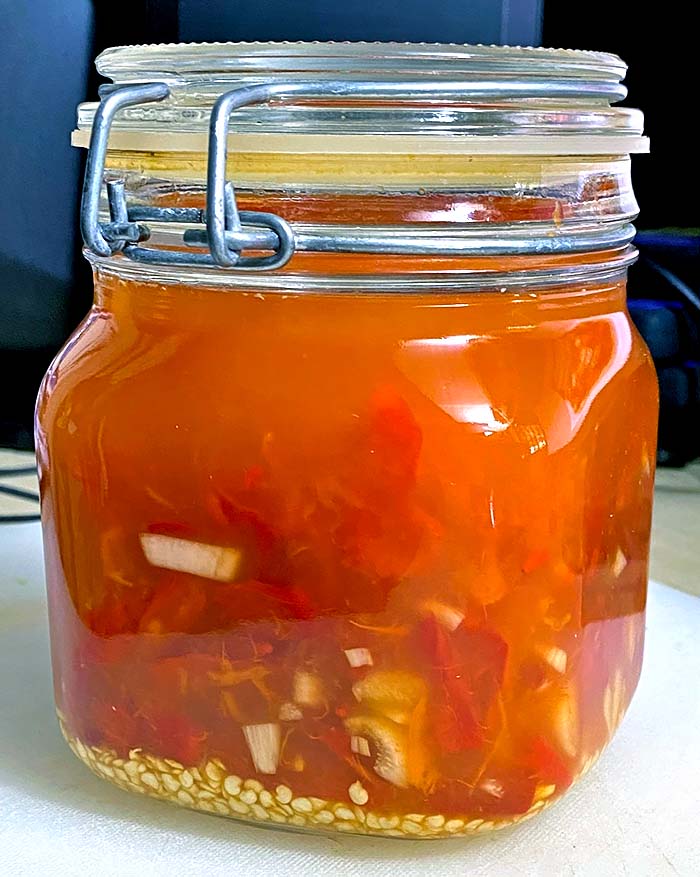
The ferment at Day 14
-
Strain.
At the end of the fermenting period, drain the chillis into
a fine sieve and collect the solids. Retain the briny fluid
as this will contain the lactobacillus for subsequent
fermentations, and you will need some of the liquid for
preparing the next step.
-
Blend.
Add some of the fermented brine to the chilli solids and
blend until a very smooth mixture results. The thickness or
runniness of this mixture is up to your preference.
Tabasco sauce is particularly liquid.
-
Acidify.
You can add a vinegar of your choice to the blend to
give your hot sauce some tartness but also increase its
potential for longer shelf-life (acidity deters microbial
growth). You can add one part vinegar to 2 parts chilli
blend (for ease of procedure, do this by weight on a
balance).
-
Xanthan.
At some stage of the blending process, you may wish to add
xanthan gum to produce a mixture with a smooth viscosity
which does not separate over time into liquid and solids.
One quarter teaspoon to 200 mL of liquid is a good start.
Add more if you want a higher viscosity. Note that you
should only add xanthan to a mixture that is being
vigorously agitated e.g. add the powder as you are blending.
If you add it to still liquid you are likely to end up with
clumps which are hard to disperse.
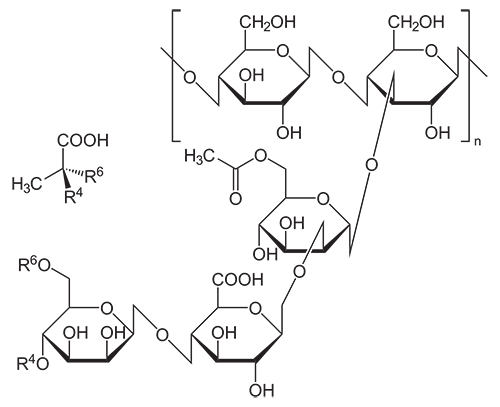
Molecular structure of xanthan
Xanthan gum is a
polysaccharide made by the bacterium Xanthomonas campestris
in fermentation. It is a highly versatile polymer with
interesting properties which make it very useful for food
applications (look at the labelling of foods which are a paste or
liquid - you will often see xanthan as an additive [given the
code E415]). Xanthan is used as a thickener which holds solids
in suspension in liquids so that they fall out of suspension
only very slowly. It is stable against acid and alkali
conditions, and is thermostable. It is thixotropic which means
that its viscosity decreases when a shear force is applied to it
- this is the property of sauces such as tomato which only comes
out of their bottles easily after you give the bottle a good
shake.
-
Bottling.
Decant the blended mixture into suitably sized bottles
with caps.
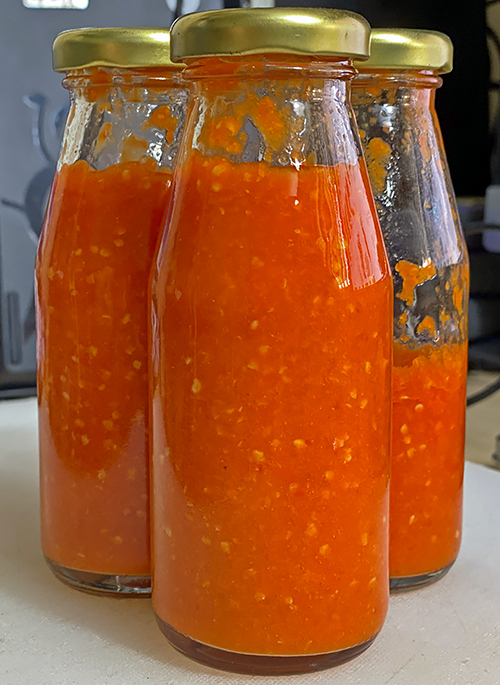
Bottled (120 mL)
and ready for pasteurization.
This is the quantity (2 and 1/2 bottles) arising
from 250 g of chillis at the start.
Pasteurization
This step is done
to stop the fermentation (the microorganisms are rendered
unviable) and to assure a sufficient shelf-life to the prepared
sauce. If the fermentation is not stopped (some people do like
an unpasteurized product), gases could be produced while in
storage and content may spill over upon the bottles being opened
(this happens with cincalok).
-
Place the
bottles of sauce in a saucepan filled with sufficient water
to immerse the bottles up to the level of the sauces held
within.
-
Heat the water
in the saucepan until boiling and hold it there until the
sauces in the bottles reach at least 80 degrees centigrade.
-
Hold 80
degrees centigrade for at least 30 minutes to complete
sufficient pasteurization.
Note that while pasteurization removes sufficient viable
cells of most food spoilage and poisoning microorganisms, it
is not the same as sterilization. Pasteurized products
cannot be stored indefinitely and thus, when you are
consuming your pasteurized sauce, store the remainder in a
refrigerator to extend its shelf-life.
You may like to
decant portions for meals and further adjust the taste of the
sauce prior to serving. You can cut/blend the sauce with
vinegar,
calamansi juice, add sugar
or fish sauce. As you please.
n.b. Ask an Aussie
what Brown-eye means |