Clem's Hyderabadi-Style Chicken Dum Biryani
Dum in the name of this dish is short for dum pukht
which in turn is from the Persian, meaning essentially to
slow cook. A biryani is a basmati rice dish where
meat or vegetables is layered with aromatic spices and if dum
cooked, is prepared in a sealed vessel where the steam generated
within cooks both the rice and the meat or vegetables. In this
version, the spice mix originates from the Indian city of
Hyderabad.
This dish is best prepared when one has time at one's disposal as it can take quite some time if no short cuts are taken. I figured that the most troublesome part of making this dish is the deep frying of sliced onions and so I opted to use store-bought fried Bombay onions.
There are four main stages in the preparation of this dish (ingredients ala Joshua Weissman):
1. Biryani Masala Powder
Ingredients
- 1/4 cup of coriander seeds
- 2 tablespoons of black cumin seeds
- 2 teaspoons of whole cloves
- 10 green cardamom pods
- 2 black cardamom pods
- 2 star anise
- 2 teaspoons of fennel seeds
- 1 teaspoon of black peppercorns
- 3 cinnamon quills
- 1 bay leaf
- 1/2 teaspoon of ground nutmeg
- 1 teaspoon of ground mace
Method
- Dry roast all the ingredients
except for the powders.
- Break up large pieces of the
spices.
- Combine all the roasted
ingredients in a grinder and render into a fine powder.
- Combine ground mix with the mace
and nutmeg powder; mix well.
- Store in a tight container.
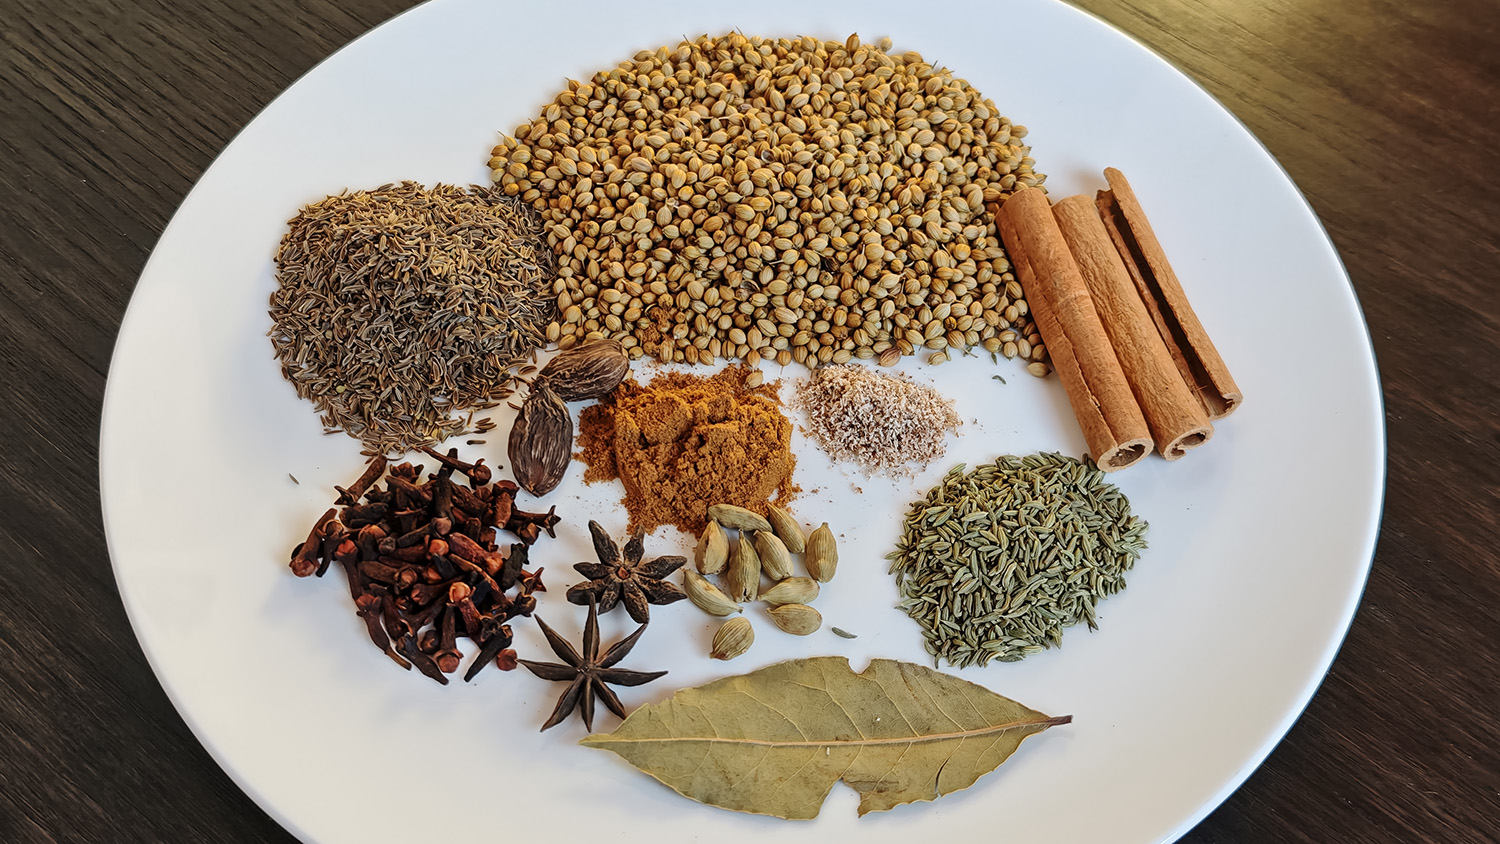
Spices for
Hyderabadi-Style Biryani
Chilli powder and black peppercorns not shown
2. Marination of the chicken
Ingredients
- 1 kg chicken (thigh cuts are good)
- 2 cloves of garlic
- 2-inch piece of ginger
- 2/3 cup of thick yoghurt (I used Greek)
- 1 and 1/2 teaspoons of your biryani masala powder
- 1/4 teaspoon turmeric powder
- 2 teaspoons chilli powder (or to taste)
- 3/4 teaspoon cardamom powder
- 1 and 1/2 teaspoons salt
- 2 teaspoons of lemon juice
Method
- Combine all the ingredients and
coat the chicken with the marinade.
- Let the chicken marinade for at
least a couple of hours, if possible over night in a
refrigerator.
- Take out of the refrigerator at least a couple of hours before using.
3. Parboiling the basmati rice
Method
- Measure out 1 and 1/2 cups of basmati rice.
- Wash thoroughly to remove starch
powder and/or any dirt.
Washing is done when the water runs relatively clear.
- Let the washed rice sit in excess
water for some 30 minutes.
- After 30 minutes, drain the rice
and set aside.
- Place at least 2 L of water into a
large pan to boil.
The required amount of water is such that the rice grains will be able to swim freely while being parboiled.
- To the water, add:
- 1 black cardamom pod
- 1 star anise
- 1 bay leaf
- 1 cinnamon stick
- 5 green cardamom pods
- 3/4 teaspoon black cumin seeds
- 5 whole cloves
- 1/2 teaspoon ground mace
- 1 tablespoon salt
- 1 teaspoon cooking oil
- When the water starts boiling, add
the washed rice.
- Gently stir the rice when
parboiling to ensure no sticking occurs.
Do not stir hard or else the grains might break.
- Boil for around 5 minutes or for
as long as needed to bring the rice to about 3/4 cooked
(taste the rice as you go along).
Do not overcook.
The rice will be further cooked by steam during the dum pukht stage.
- When done, drain the rice using a
sieve.
- Set the rice aside.
4. Assembling the biryani for dum cooking
Note: There is normally a step here for making the deep fried sliced onions but it is not required in my method because of my use of store-bought fried Bombay onions.
Equipment
- A shallow, heavy cooking vessel
which has a tight lid (essential), and oven-proof if using
an oven stage.
I used a Dutch Oven. - A metal plate of some description
to sit your cooking vessel on top of to help dissipate heat
from the cooking flame (so that the bottom-most of your
cooking contents do not burn).
In the absence of a metal plate, I used a large frypan with a multi-layered bottom to sit my Dutch Oven on. - Aluminium foil (for helping to seal the cooking vessel).
- An oven.
Store-bought ingredient
- Deep fried Bombay onions
(shallots).
This is the kind where the onions are browned and crispy.
There are many brands to choose from (just buy a batch that is relatively close to production date or else the oil may have oxidized and leave a taste which is not fresh).
Method
- Chop up a handful or
coriander leaves and do the same with
a handful of mint leaves.
Set aside.
- Into a couple tablespoons of warm
milk, add a pinch (some 0.15 g) of saffron threads.
- Let the threads hydrate and
release their yellow/orange colour into the milk.
Allow some 30 minutes for this to happen.
- Add a tablespoon of ghee
(or cooking oil) to the cooking vessel of your choice (I
shall refer to the Dutch Oven as this was my choice).
- When the oil is hot, add the
marinated chicken pieces.
- Add a third of the chopped coriander
and mint.
- Add a handful of fried
onions.
- Fry for some 5 minutes.
I recommend this frying step (other methods may not) because it allows one to taste the chicken as it is being cooked at this stage.
- Add salt and/or chilli to adjust
the chicken to your preferred taste.
- Now layer half of the parboiled
rice on top of the chicken.
- Add the second third of the chopped
coriander and mint; spreading these evenly on top of the
rice.
- Sprinkle some fried onions evenly
on top of the rice.
- Sprinkle some of your biryani
masala powder on top of the rice.
- Squeeze the juice of half a
lemon onto the rice layer.
- Now add the remaining rice on top
of the last layer.
- Again, add coriander/mint/fried
onions on top of this layer of rice.
- Now, spread all of the saffron
infused milk evenly across the rice.
- Lastly, add 2 tablespoons of
melted ghee evenly to the rice.
- Cover the top of your cooking
vessel with aluminium foil.
- Now you may close the lid onto of
the foil.
Make sure that the lid is on tightly.
Do not be tempted to open the lid for any reason until the cooking is done.
- Sit your cooking vessel on your
chosen means of heat dissipation (mine was Dutch Oven on top
of a fry pan) and cook on high heat for 15 minutes.
- After 15 minutes, turn the heat
down to the lowest setting and cook on for another 30
minutes.
Alternatively, place your cooking vessel in an oven at 150oC for 30 minutes.
- After the described cooking time,
open the lid and test the rice to see if it has been cooked
enough (it should be fluffy and still individually grained.
If cooked sufficiently, push aside the rice to check the chicken (if the rice is cooked, the chicken should be as well).
It is desirable that parts of the chicken is charred (where the pieces sit at the bottom of the cooking vessel).
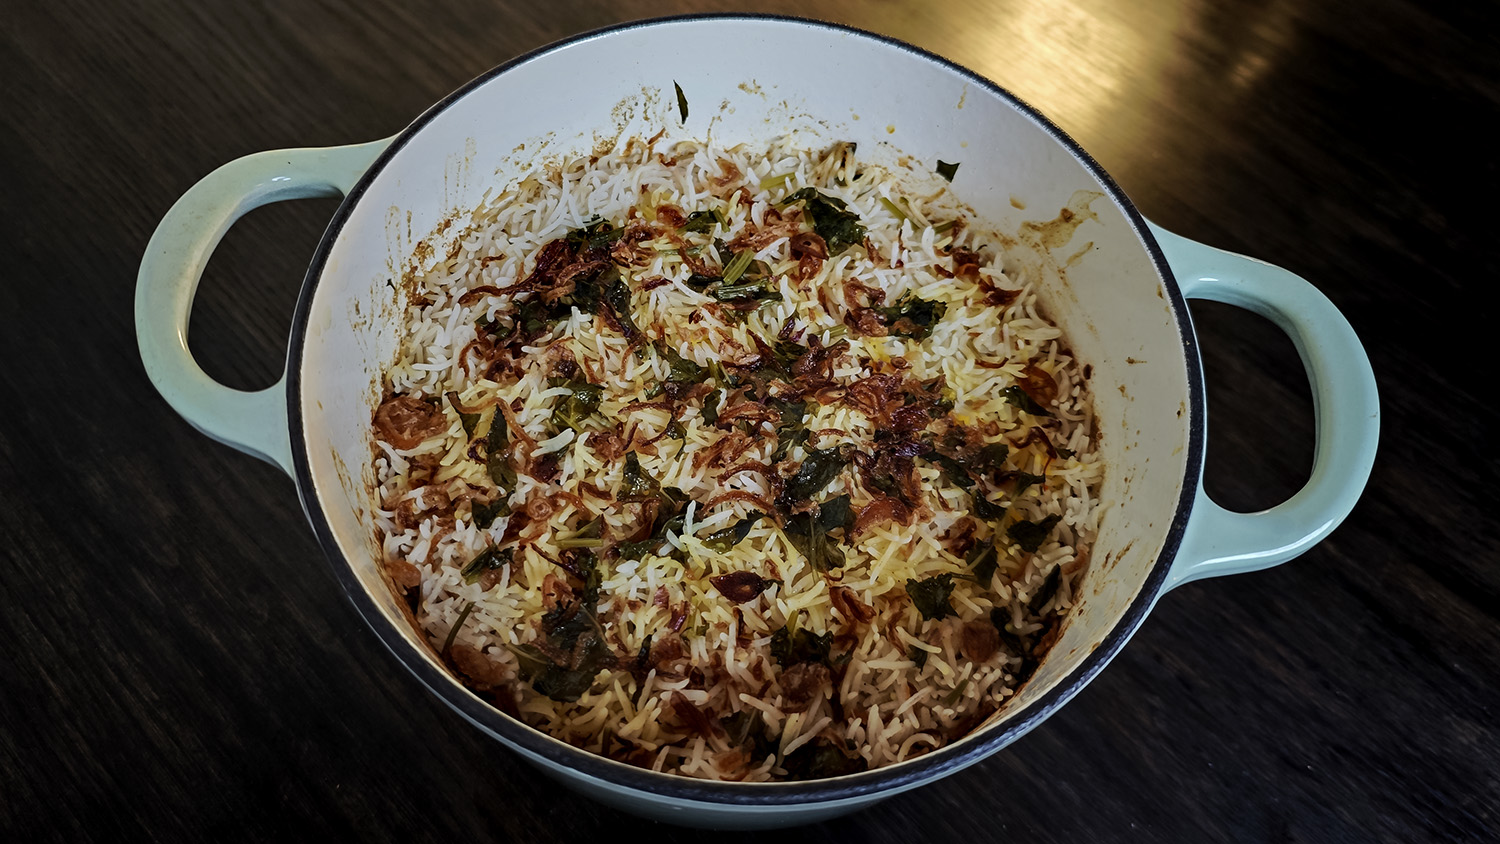
Clem's Hyderabadi-Style
Dum Biryani just out from the oven
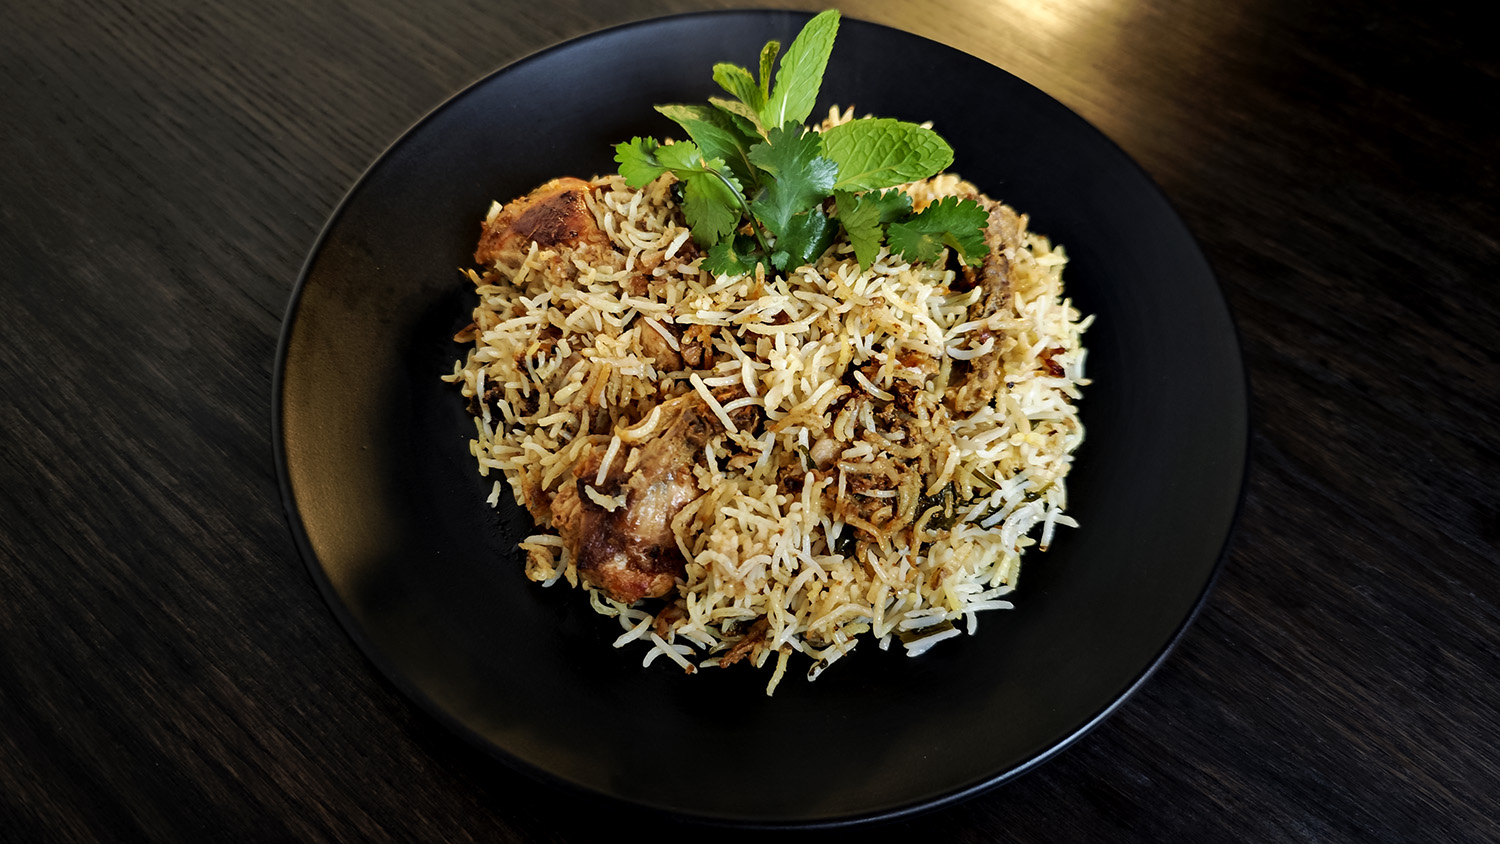
Clem's Hyderabadi-Style
Dum Biryani as served
ENJOY!
All my cooking (some without recipes) can be found here (click on each photo to go to that dish's page):
http://clemkuek.com/photoalbum/photo696.html
Video presentations can be found here:
Earlier days: https://youtu.be/BWyHY1h9Y5s
More recently: https://youtu.be/cph2XmwuQLU
27 June
2025
Created by Clem Kuek
