Clem's
sake
|
|
Sake falls
within that group of alcoholic wines brewed using rice as the
carbohydrate source. It is Japanese in origin with
the key features of
utilizing (i) particular rice varieties; (ii) only highly
polished rice (unlike other rice wines from other cultures; the
level of polishing desired removes between 40 to 60 % of the
outer kernel) as this minimizes the flavours imparted by any retention of bran and non-starch
components of raw rice; (iii) a hydrolysation stage (kome
koji) where sugars are released by the breakdown of rice
starch by the enzymatic action via a fungus.
The rice variety used is
Oryza sativa subsp. japonica. This is a short-grain
variety with a higher amylopectin content than long-grain rice
(the other component of rice starch is amylose) which gives rise
to a sticky characteristic when cooked.
|
|
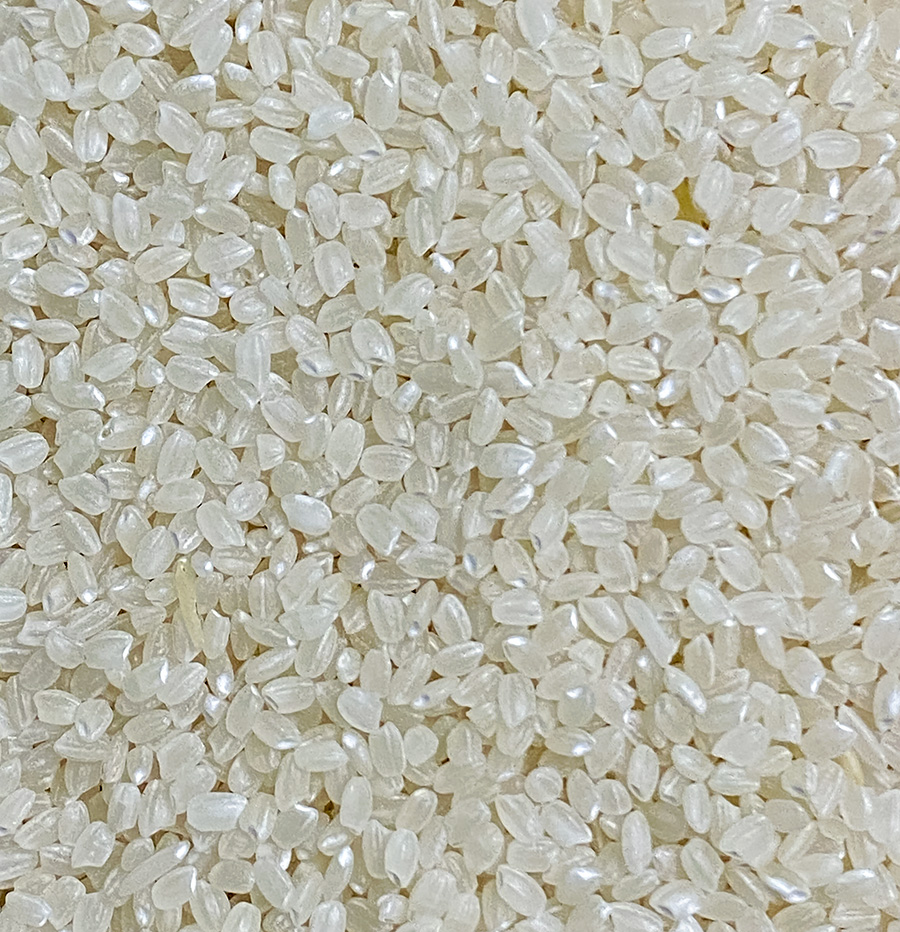
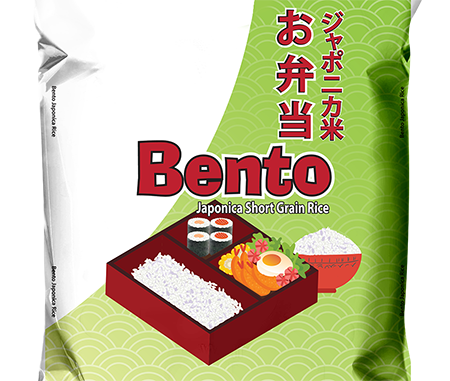
The short-grain Japonica rice
which I used (labelled as bento rice)
|
|
|
|
Starches are polymers of
glucose units. They are only
fermentable after they are saccharified to release fermentable
sugars. Kome koji fungi are used for starch
saccharification because they produce amylases such as
alpha-amylase and glucoamylase. Amylopectin is more difficult to hydrolyze by kome-koji fungi because of its alpha 1-6
linkages (between glucose molecules in starch) are only susceptible to glucoamylase. Hydrolysis by glucoamylase (to release monomers of
glucose) is slower than via alpha-amylase (acting on alpha 1,4
linkages in amylose to release short chain amylose or dextrins
or oligosaccharides) and because glucoamylase is an exo-amylase
(acting only on chain ends) whereas alpha-amylase is an endo-amylase
(acting from within polymer chains).
Koji kin is the
fungal agent used for hydrolysis. It is typically Aspergillus
oryzae.
|
|
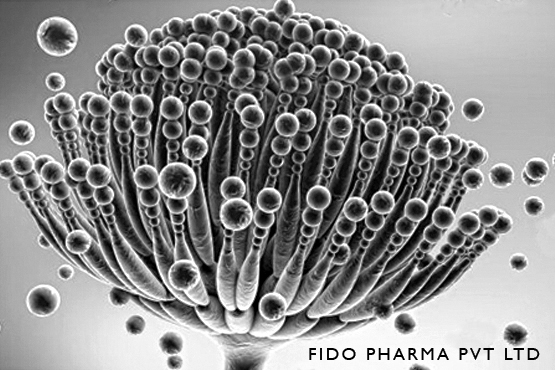
A conidiophore of Aspergillus
oryzae
|
|
MATERIALS AND
METHOD
GENERAL PRECAUTION
You are
making a food product which is consumed without cooking.
Exercise maximum hygiene/sanitation in all your procedures and
disinfect equipment prior to usage.
Making kome koji (saccharification by a live
fungal agent to produce hydrolysed rice starch)
Starches
are stored in crystalline granules. These need to be "hydrated"
in a step called "gelatinization" where polymeric starch is
brought into solution and thus becomes amenable to further
chemical and physical transformation e.g. via enzymatic
hydrolysis. Rice starches gelatinize in the temperature range 68
- 78 degrees centigrade.
-
Take
240 g of polished short-grain rice and wash thoroughly until
the water runs clear.
This will remove any remnants from outer rice layers and
also prevent the steamed rice granules from tending to stick
together.
240 g of resulting kome koji is the quantity which
when added to 1 kg of cooked rice and 1 L of water will be
the fermentation mash (see below).
-
Steam the rice until the grains are plump and soft.
This is the arrangement which I used:
|
|
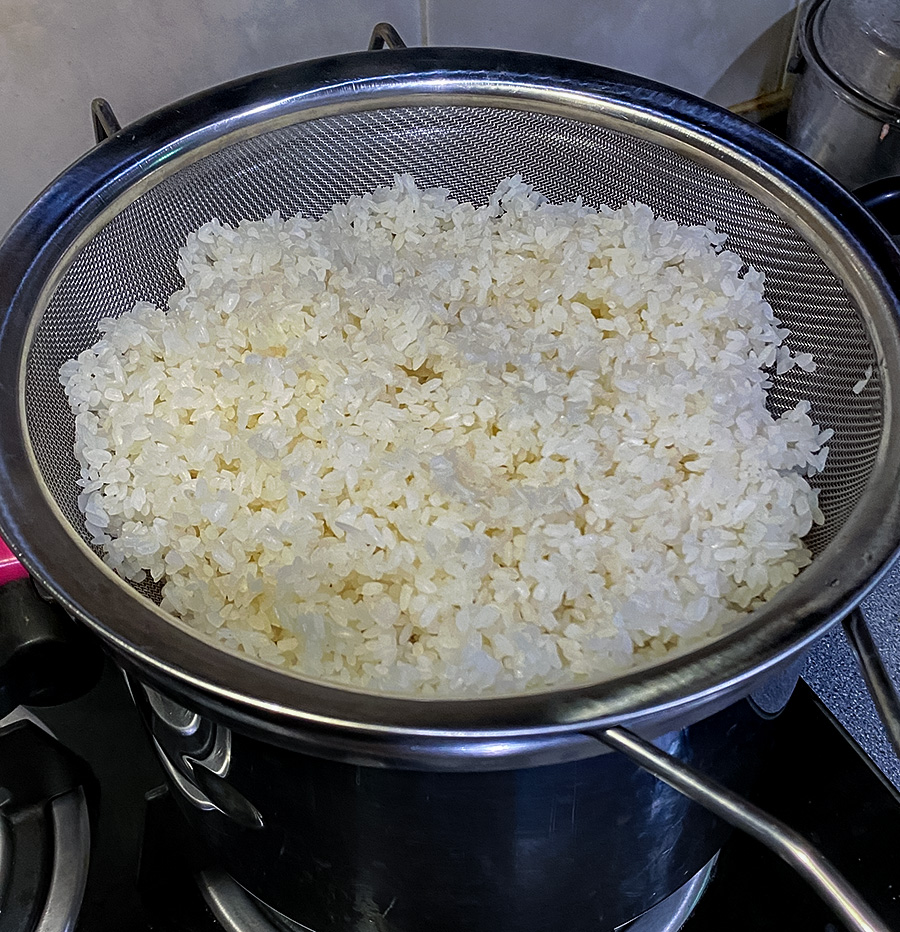
A large sieve, a large pot and a lid to cover.
This was around halfway through a 2 h steaming process
|
-
Spread the steamed rice onto a sterilized tray and let
the steamed rice cool down (to at least 30 degrees
centigrade).
-
For my source of the fungus, I used commercially available
kome koji (what is being made in this step viz.
steamed rice upon which Apergillus oryzae is
cultured).
This is the kome koji which I bought online:
|
|
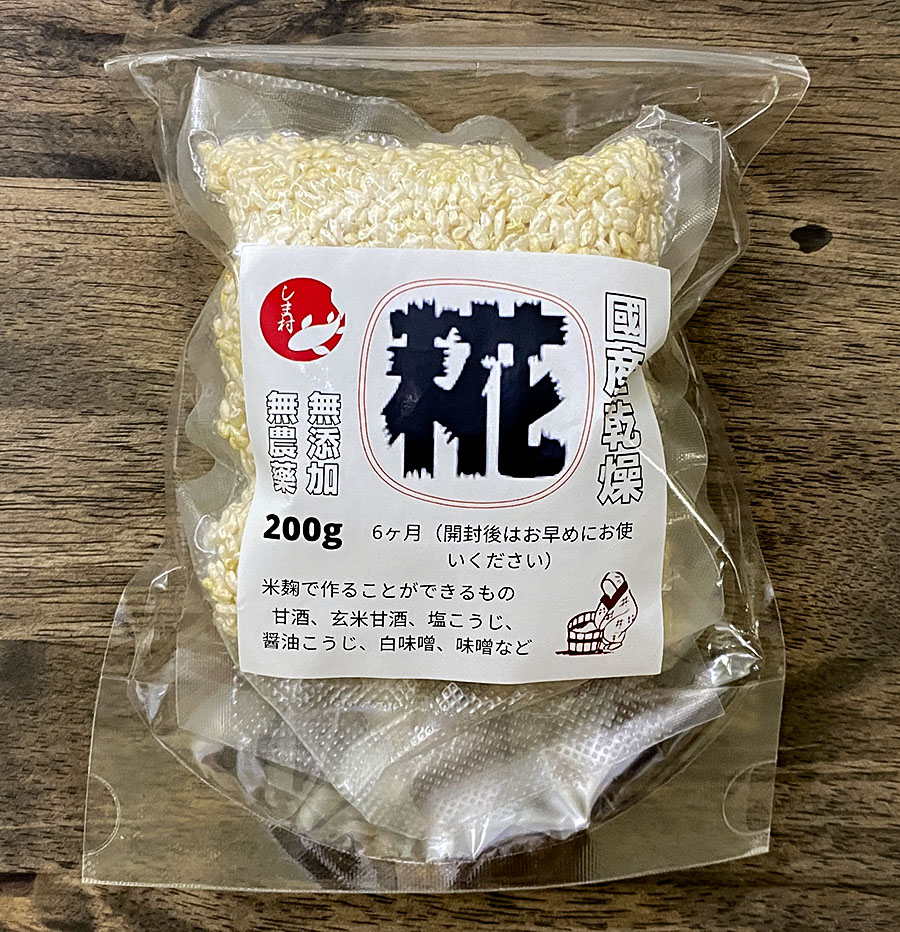
Koji kin available
online
|
-
Finely grind 5 - 10 g of the kome Koji .
-
Mix
the ground kome koji well into the rice, cover (not airtight) and leave in a
warm corner of a room for the fungus to grow throughout
the rice. In growing on the rice, hydrolytic amylolytic
enzymes released will break down starch into fermentable sugars for
the next stage of the process.
Check the inoculated rice regularly while taking care not to
introduce contaminants into the mix; mix the rice with a
sterilized utensil at these points to ensure even
development of the fungus.
-
The
process may be stopped after some 30 - 48 h if the culture
progressed optimally.
You now have kome koji for the
alcoholic fermentation stage.
-
The property of
kome koji which is desired for the sake process is its content of amylolytic ezymes such as
alpha-amylase and glucoamylase which are required to
saccharify rice substrate which will be added in the
fermentation stage. These enzymes accumulate in the kome
koji as the koji kin fungus grows throughout the rice
during the preparation of kome koji. Without
the agency of these enzymes, the starches in the added rice
substrate will not be fermentable by the yeast cells added
together with the rice.
|
|
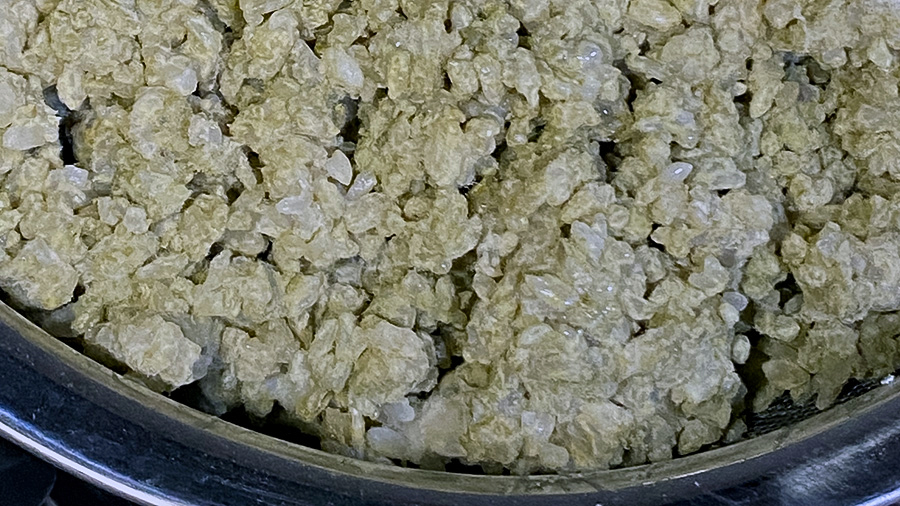
kome koji
ready to use after a two-day incubation
|
|
Preparing the yeast
inoculum
Some
36 h before needing to use it, start
making the yeast inoculum:
-
Take
10 g of ground kome koji and add 100 mL of sterilized
water at room temperature to a sterilized container with a
lid.
-
Add
a few grams of dried yeast and set aside in a warm corner of
a room for the yeast to multiply.
I used a wine yeast strain which was bought online but you
can experiment with various types including sake
strains if you can find them (sake strains generally
have higher alcohol tolerance).
-
The
inoculum will be ready to use after 24 h.
|
|
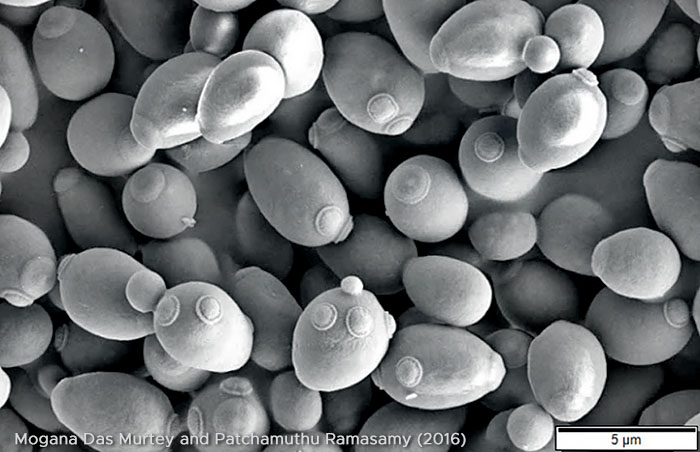
The yeast
Saccharomyces cervesiae used in ethanolic fermentations
|
|
The alcoholic fermentation
(sake stage)
It is now
time to combine the kome koji with more rice substrate.
-
Cook
400 g of short-grain rice until soft (thus ensuring that all
the rice starch granules in the kernels are gelatinized).
Allow it to cool to at least 30 degree centigrade.
-
In a
suitably-sized container with a tight lid, combine:
-
the
cooked rice;
-
135
g of kome koji previously prepared;
-
1.5 L
of boiled water allowed to cool to at least 30 degrees
centigrade;
-
100
mL of the yeast inoculum previously prepared.
-
Stir
well with a sterilized utensil, close the container and set
aside in a cool room for 10 to 14 days.
Through the days, the saccharolytic enzymes in kome koji
will cleave polymeric starch in the cooked rice to produce
fermentable sugars and the yeast in the inoculum will in
turn grow and convert those sugars into ethanol.
|
|
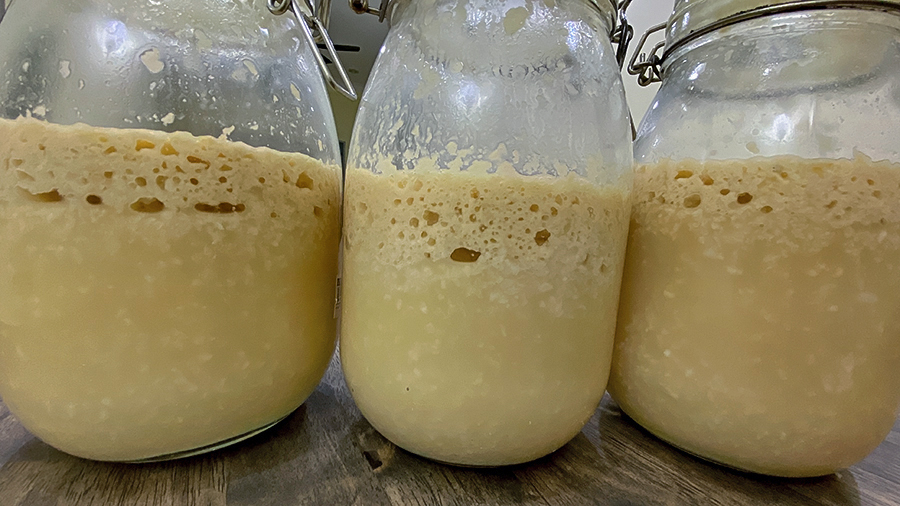
The brew at the beginning of Day 2
|
-
Check
the brew each day and allow gas build up to vent if you do
not have a water trap on the lid of the brew container
("burp" the vessel).
You should notice bubbling (CO2 evolution) from the first day.
-
When
active bubbling has ceased, your brew is ready.
Fermentation will typically cease when the substrate runs
out or when the ethanol concentration has gone higher than
what the yeast cells can tolerate. The two are related since
high alcohol content can only be reached if the starch has
been well cleaved and there was a sufficient amount of the
latter supplied at the start of the brew. In home
fermentations such as described here, starch substrate is
probably in excess. Given that sufficient fermentable sugars
are released during the brew, fermentation probably ends due
to the yeast's alcohol tolerance being exceeded.
|
|
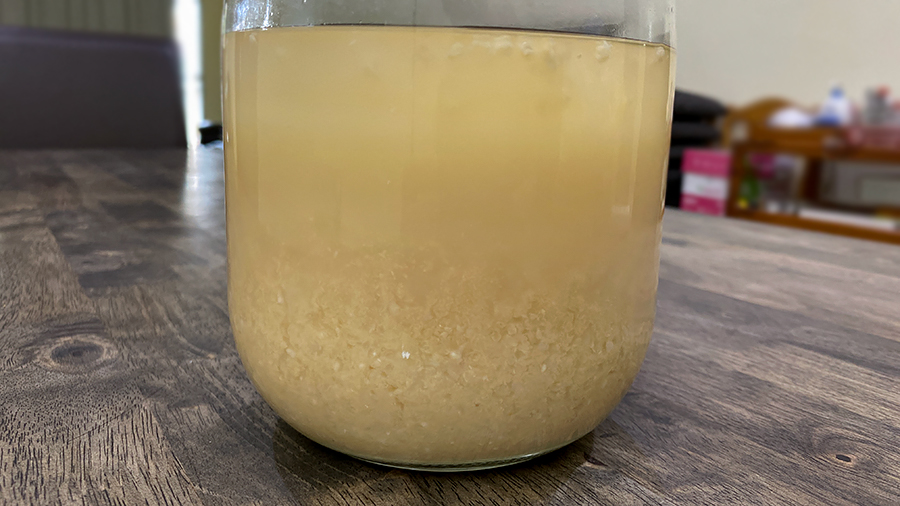
The brew at the
end of Day 7
Active bubbling has stopped; quantity of large particulates have
reduced; clearer brew at the top
|
|
Clarification
At the
end of fermentation, there will
be a lot of rice and yeast matter in your brew and so you may
wish to have a more clarified product. You can:
-
Pour
the fermented brew mash through a fine sieve to remove coarse
matter.
-
Allow
the larger particles in the sieved brew to settle by placing
it in a refrigerator over a few days. This is called
"cold-crashing". Decant the clearer brew at the top and it
will be ready for drinking.
-
You
choose to further clarify the product by passing it through
a cloth or finer filter matrix.
-
Sake
can be drunk fresh in cloudy or clear form according to preference as is the
choice of it being cold or warmed up.
-
For
storage, the fresh sake should be pasteurized by
holding it at 65 degrees centigrade for at least 30 minutes.
|
|
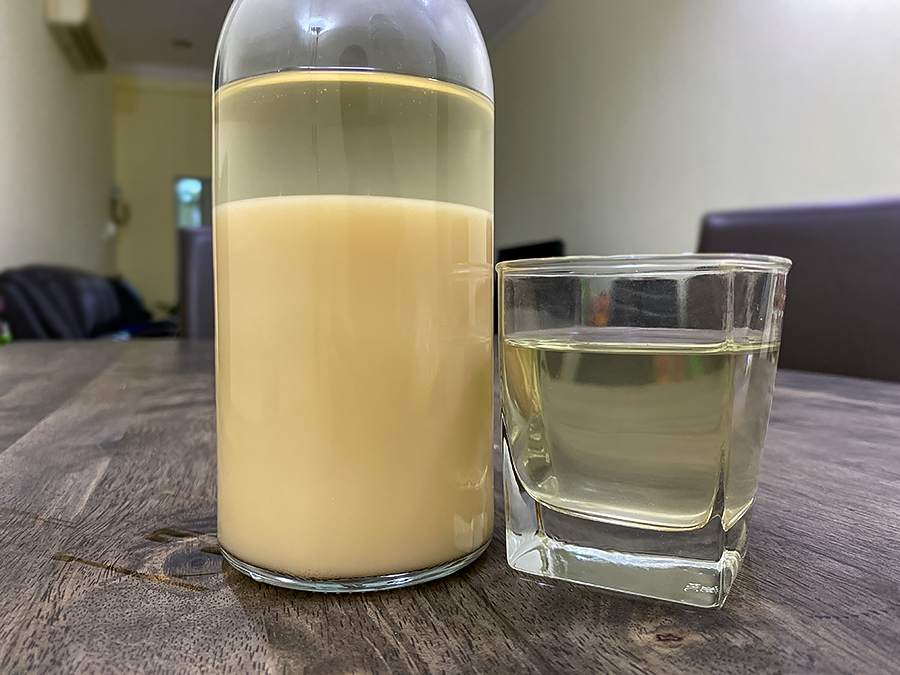
Left: Day 7 brew
after sieve-filtration and cold-crashing overnight in the refrigerator
Right: Cold, clear sake decanted from the top of the
cold-crashed brew on the left.
ENJOY YOUR
EFFORTS! |


